
Step-by-step procedures.
In front of your eyes, not in your pocket.
Work procedures — safety, maintenance, quality control, assembly — are delivered to smart glasses as guided instructions. Arrows, circles and 3D animations appear directly on the equipment. Aida checks every step and collects evidence automatically.
Motor bearing replacement — AR guide
Five timed steps, with AR overlays on the real component, confirmation checks and a final digital sign-off. Estimated total time: ~9 minutes.
- 01
Safety & LOTO
~ 00:45Check PPE (safety glasses, gloves, S3 shoes). Apply Lock Out / Tag Out on panel Q-12. Confirm the absence of voltage with a voltmeter on terminals L1-L2-L3.
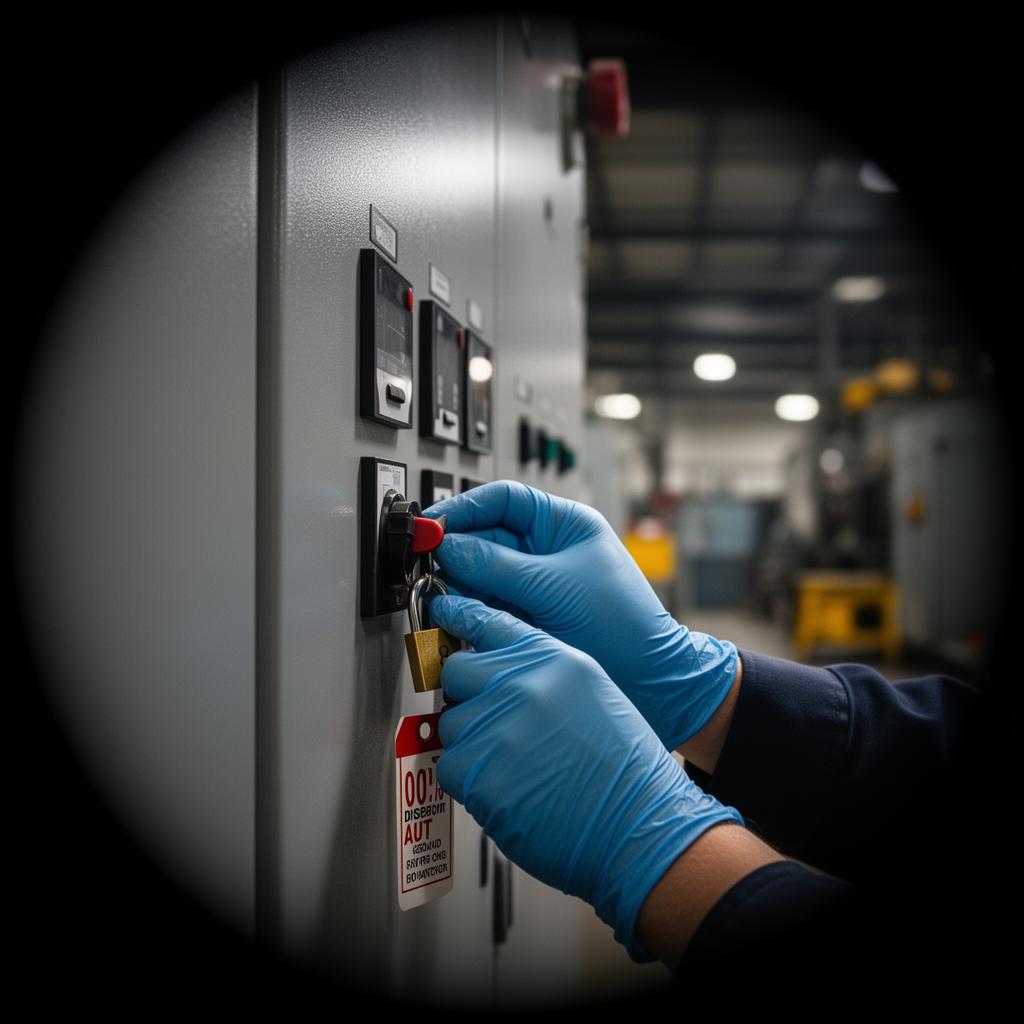 AR OverlayIsolator Q-12 → apply padlockREC · Step 0100:45AR overlay
AR arrow on isolator Q-12
ConfirmationConfirmation photo of the padlock applied
- 02
Guard removal
~ 01:30Remove the 6 M6×20 screws on the upper guard in a cross pattern. Tightening torque on reassembly: 9 Nm.
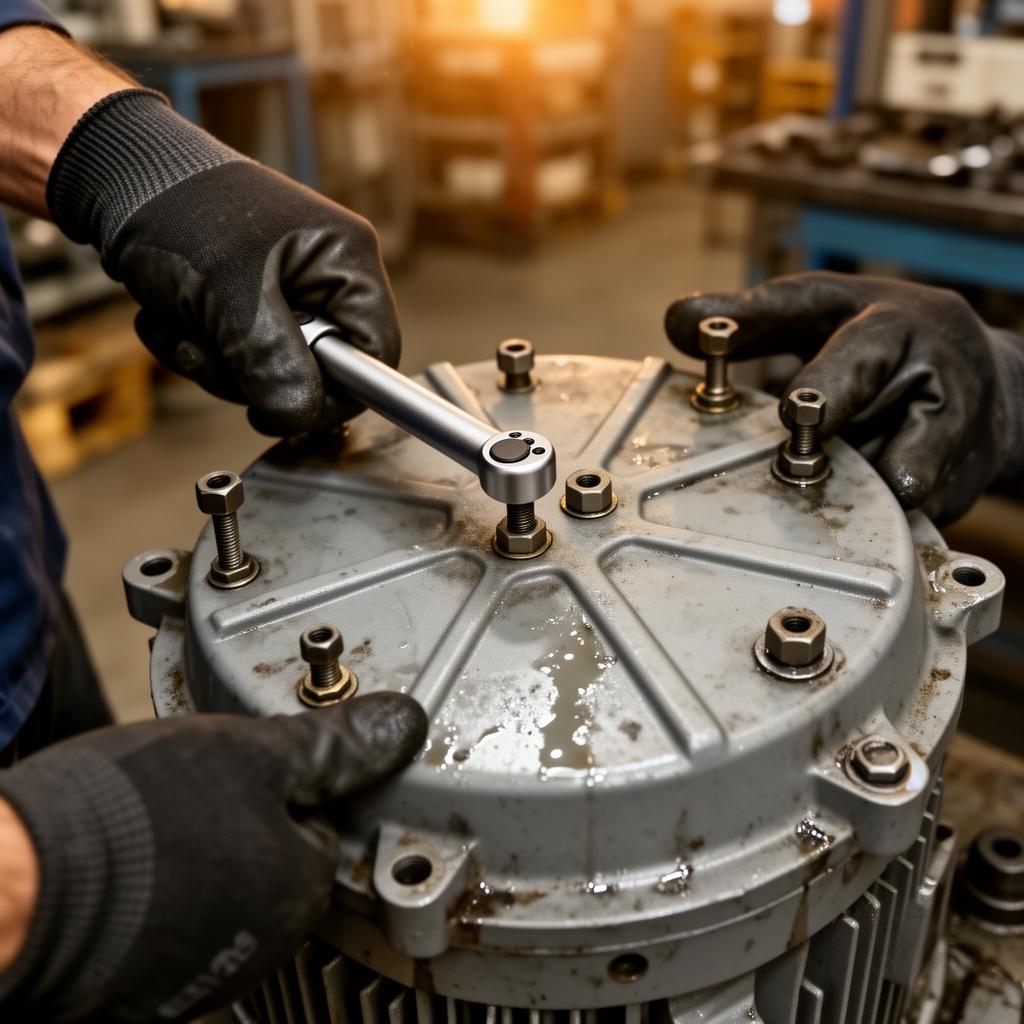 123456AR Overlay6 M6×20 screws · cross pattern · 9 NmREC · Step 0201:30AR overlay
AR circles on the 6 fixing points
ConfirmationAutomatic screw count via the camera
- 03
Visual bearing inspection
~ 01:15Frame the SKF 6206-2RS bearing. Aida automatically compares it with the reference gallery and flags any anomalies (flaking, oxidation, axial play).
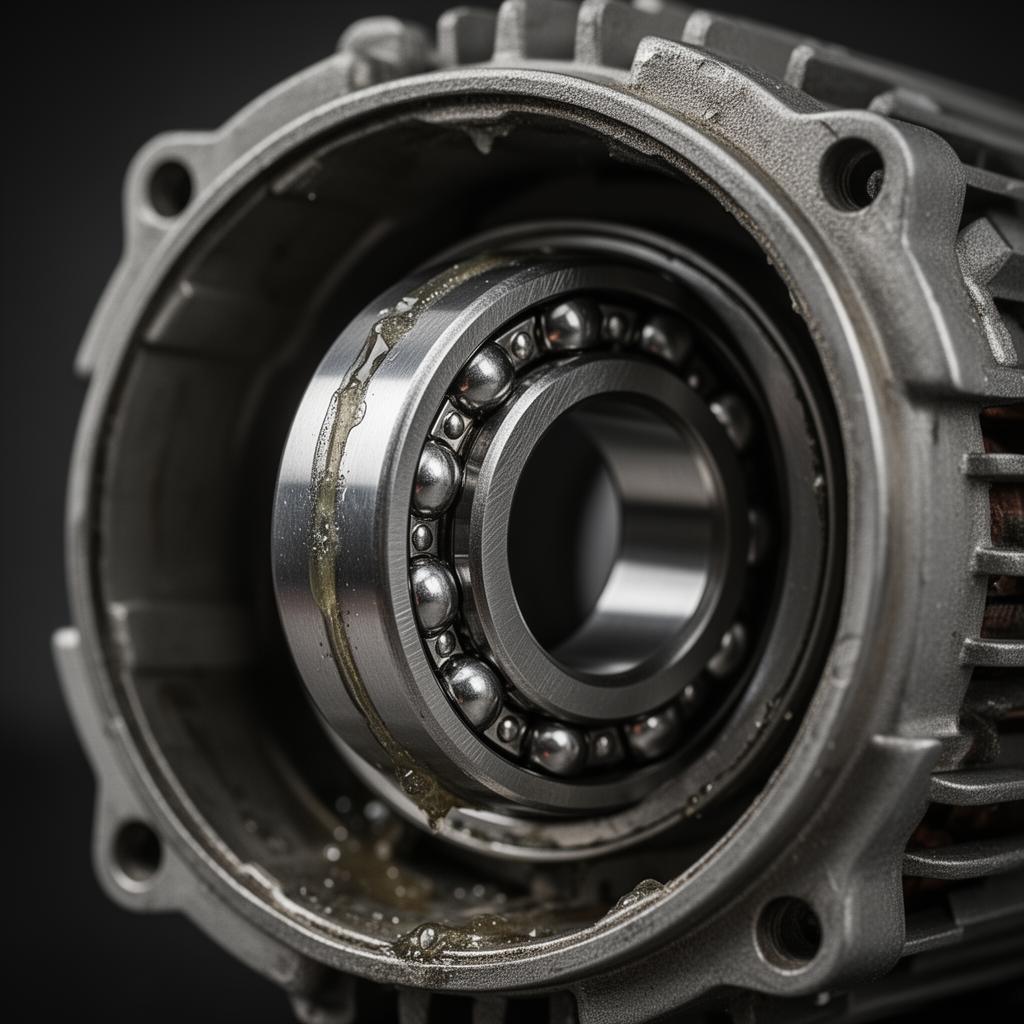 AR OverlaySKF 6206-2RS · Aida: no anomaliesREC · Step 0301:15AR overlay
AR bounding box on the bearing + visual diff
ConfirmationSnapshot attached to the intervention report
- 04
Replacement (if needed)
~ 04:00If the bearing is damaged: remove it with a 3-jaw puller, clean the seat and fit the new one cold with a hydraulic press up to the shoulder.
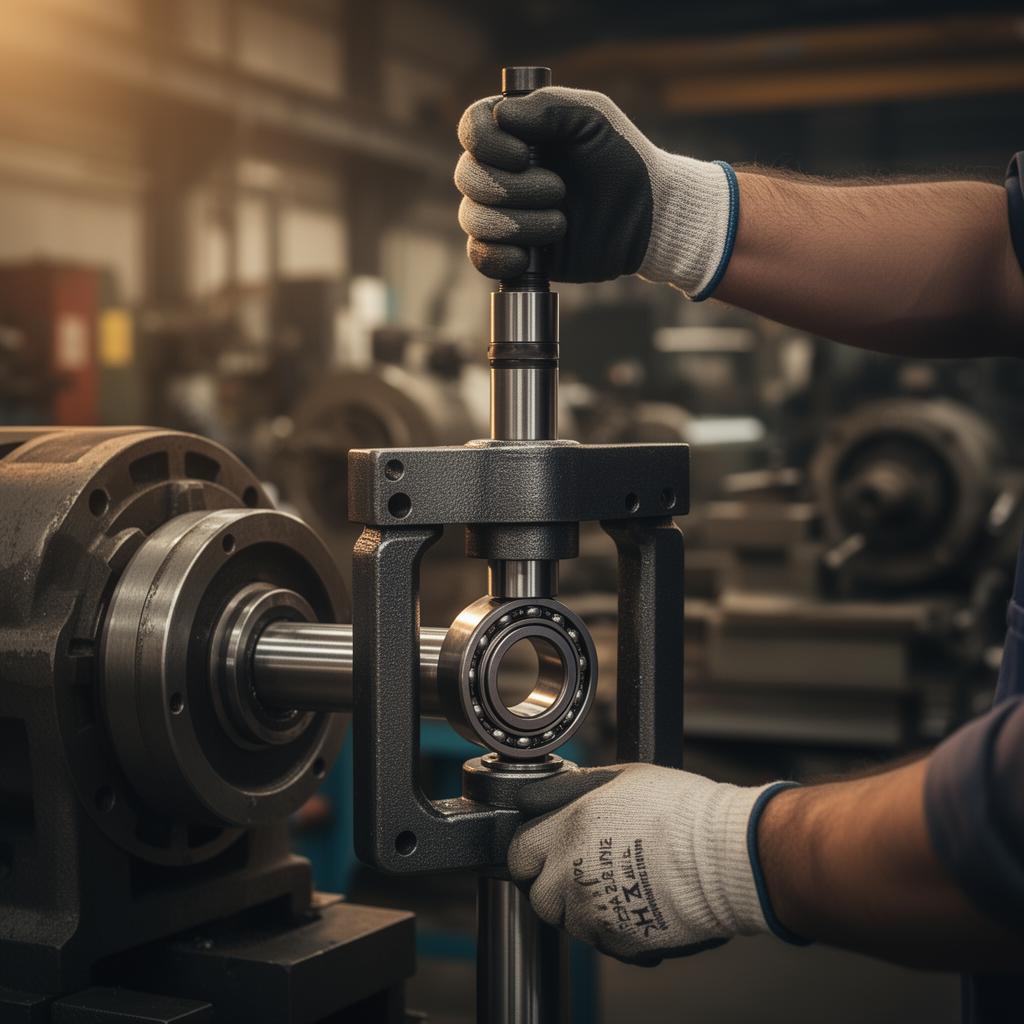 AR Overlay3-jaw puller → cold extractionREC · Step 0404:00AR overlay
Step-by-step 3D assembly animation
ConfirmationSpare part code scanned via QR
- 05
Reassembly & test
~ 02:00Refit the guard at 9 Nm. Remove LOTO. Re-energise the panel. Start in manual mode and check vibration < 2.8 mm/s at measuring point M-01.
AR overlayFloating AR checklist + vibration meter reading
ConfirmationDigital sign-off by the maintenance manager
More than paper, more than a PDF.
It's the procedure that works with you.
Operators always aligned
Everyone follows the current official procedure, not printed versions that are months old.
Full traceability
Every completed step generates logs, photos and a signature. Evidence ready for audits.
Built-in training
Procedures double as the onboarding manual: new hires learn by doing.